When I got my first real desk job out of college I had one of three things for lunch every single day for what felt like forever: Totally wishing I’d had Apple Cranberry Almond Mason Jar Salads with Greek Yogurt Poppy Seed Dressing back then, because this fresh and delicious lunch idea is not only make-ahead but full of good for you ingredients so you don’t experience the dreaded post-lunch crash!
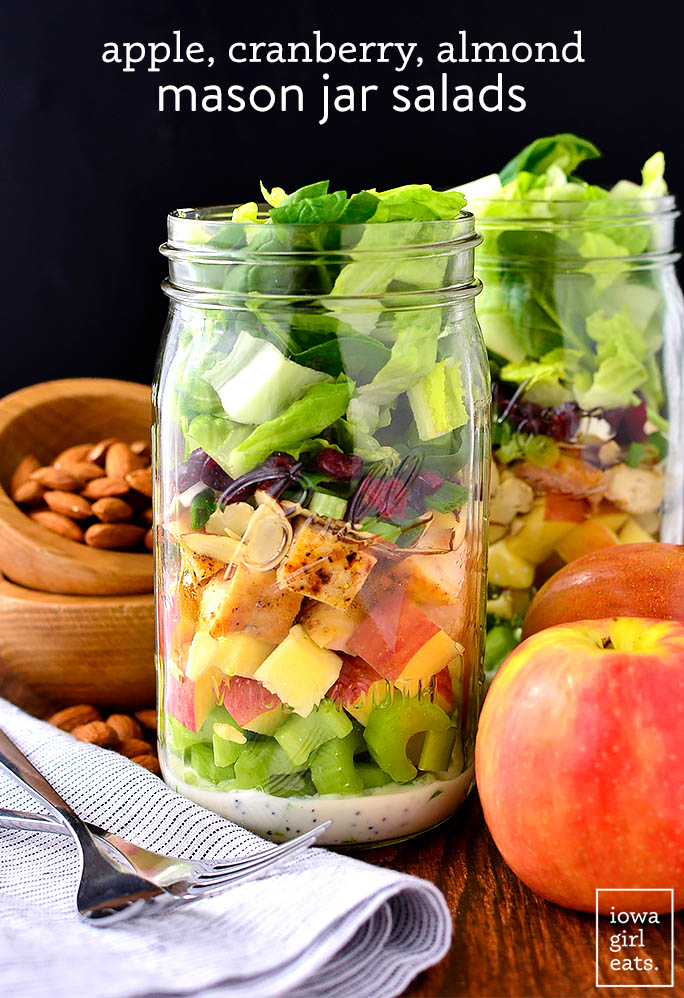
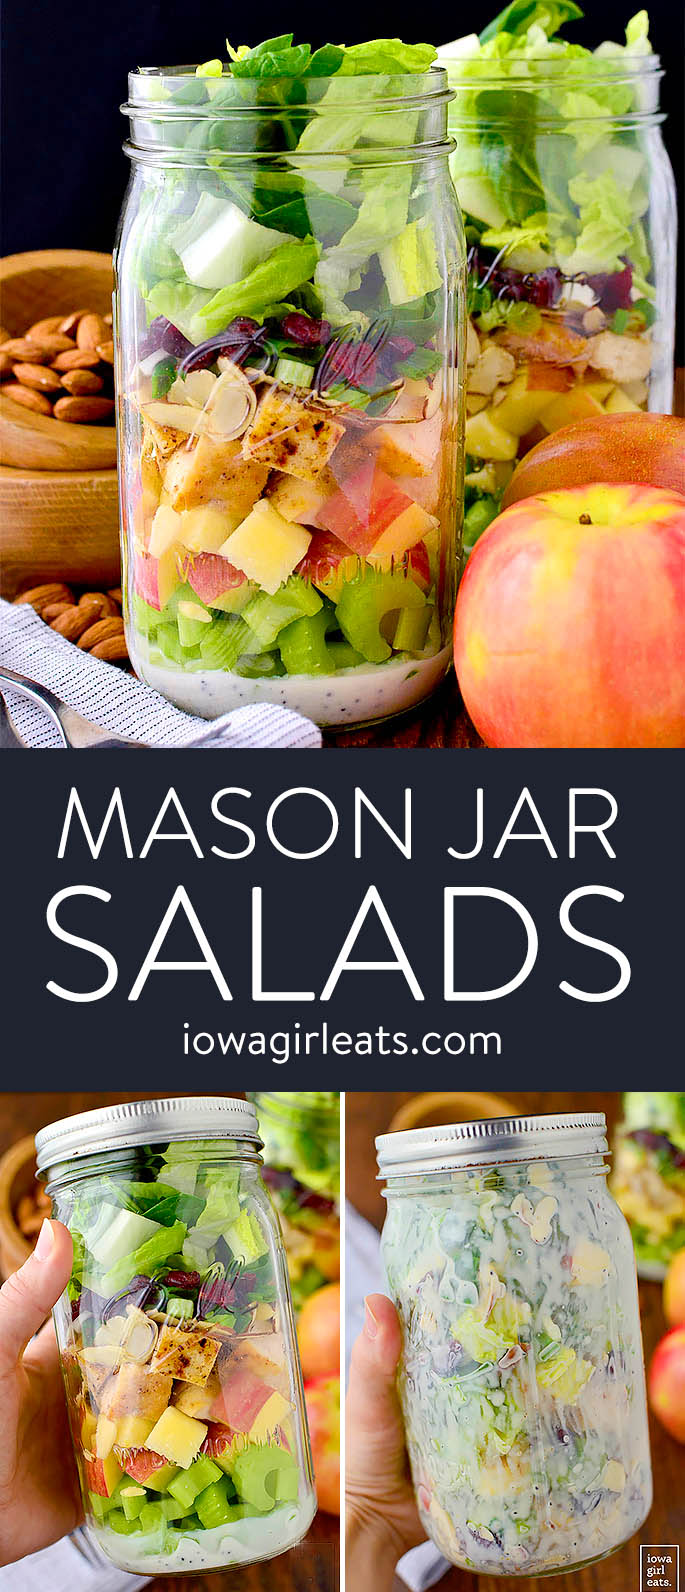
Mason Jar Salads
I know frozen meals and heading to a nearby restaurant may seem easier/more exciting than bringing your own boring lunch from home, but mason jar salads are incredibly economical, and it takes less than 20 minutes to assemble four of these babies. If you’re worried about monotony, mix it up! I’ll share the secret for making sure mason jar salads stay nice and crisp for days in the fridge, no matter what toppings you use. Even if you don’t go with my savory, sweet, crunchy, and chewy combination of fresh celery, apples, chicken, sliced almonds, green onions, dried cranberries and fresh lettuce — the secret to success is in the layer order.
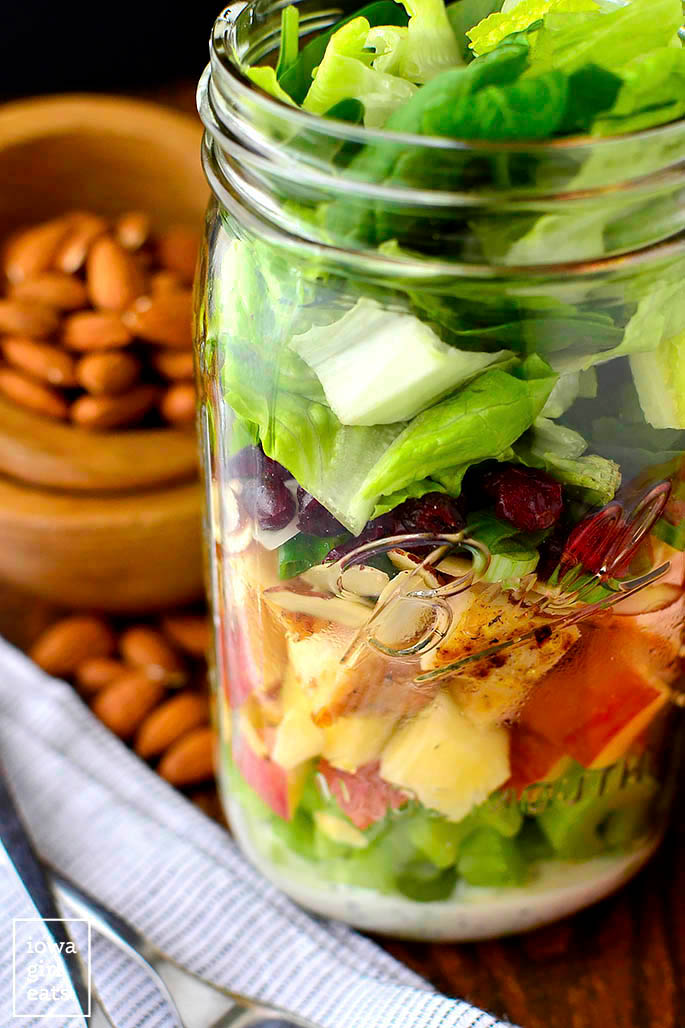
How to Layer Salads in Jars
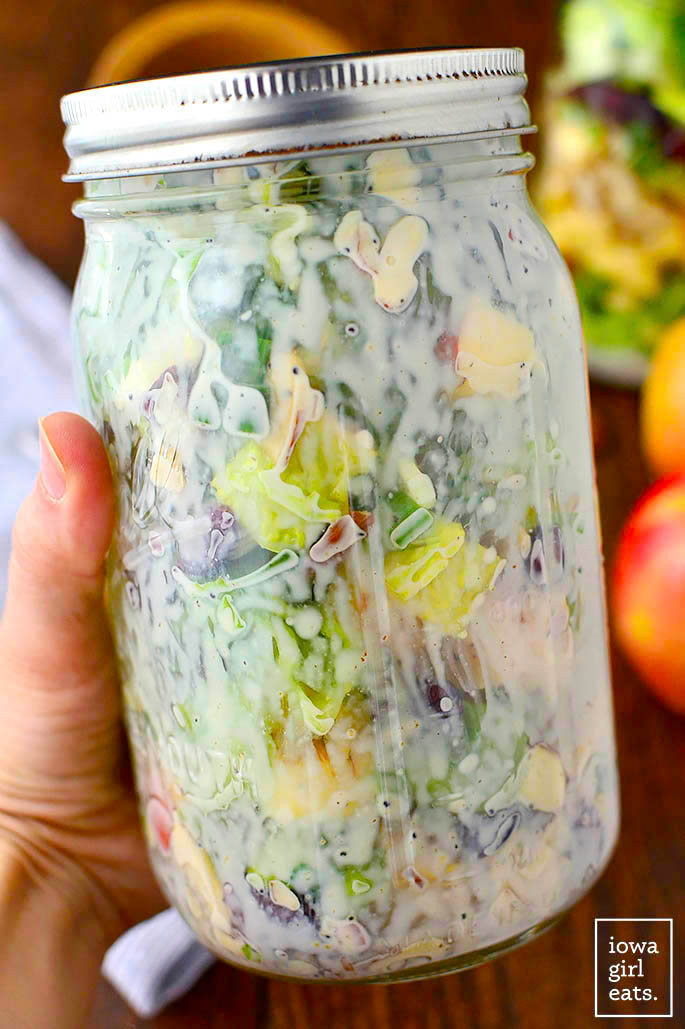
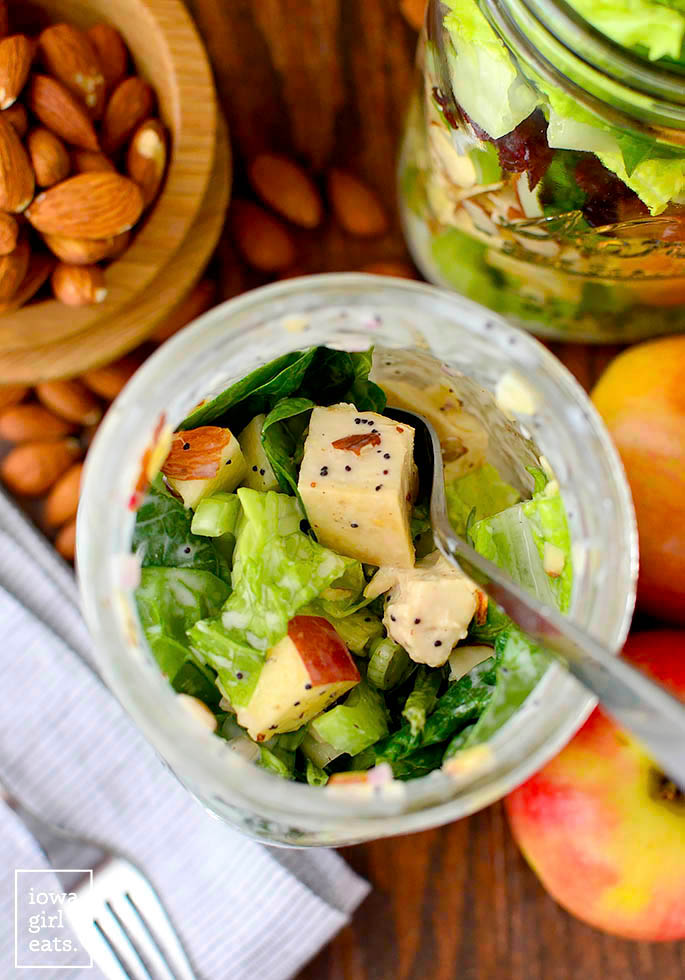
When it’s time to eat, grab the mason jar from the fridge then give it a big shake and voila — a fresh, nutritious, and vibrant lunch!
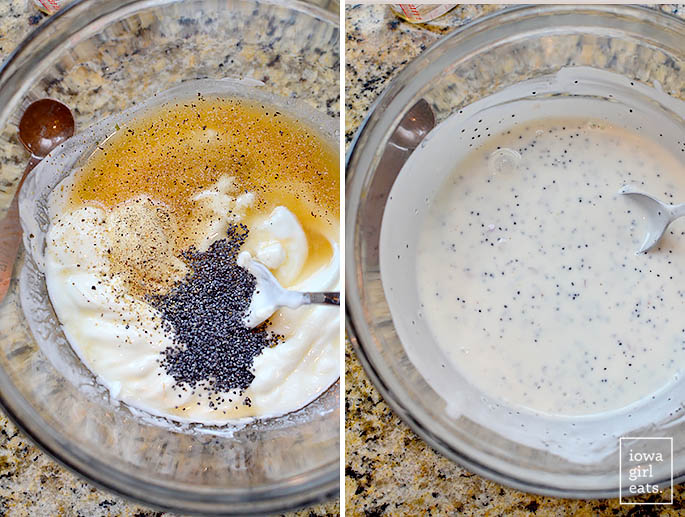
Start by making the Greek Yogurt Poppy Seed Dressing, which is a cinch to stir together. Combine plain Greek yogurt with apple cider vinegar, honey, minced shallot, poppy seeds, salt, and pepper in a bowl then stir until smooth.
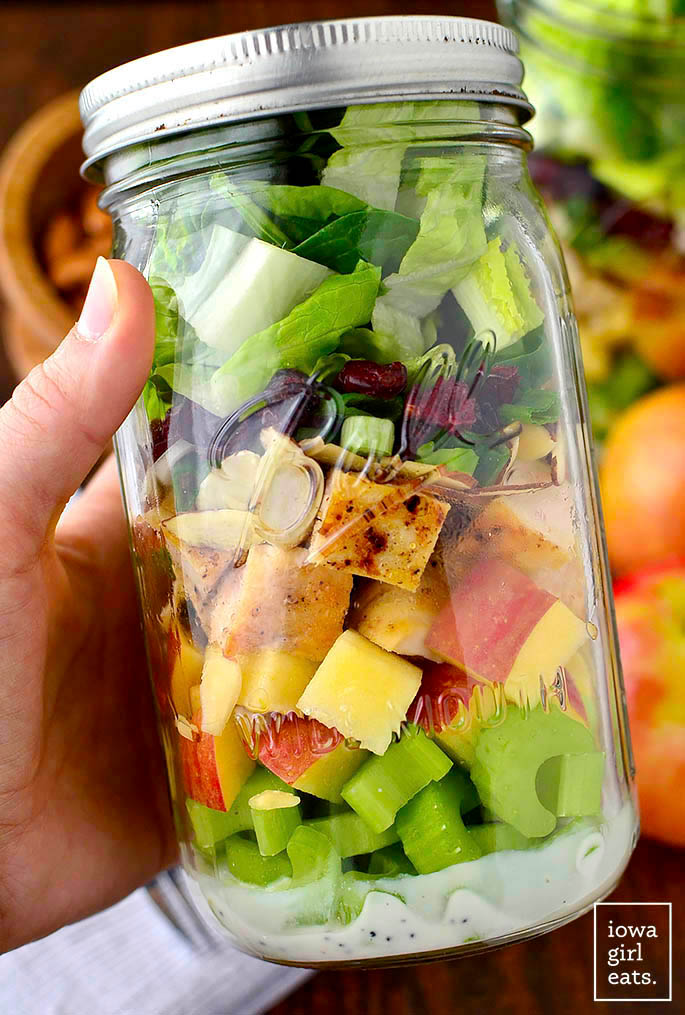
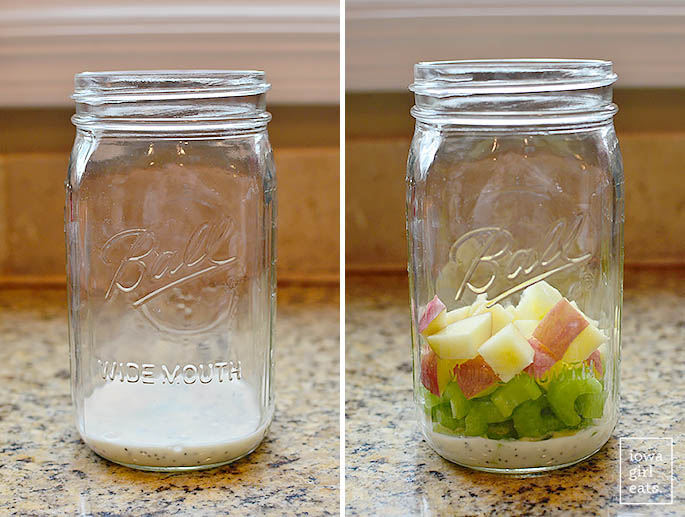
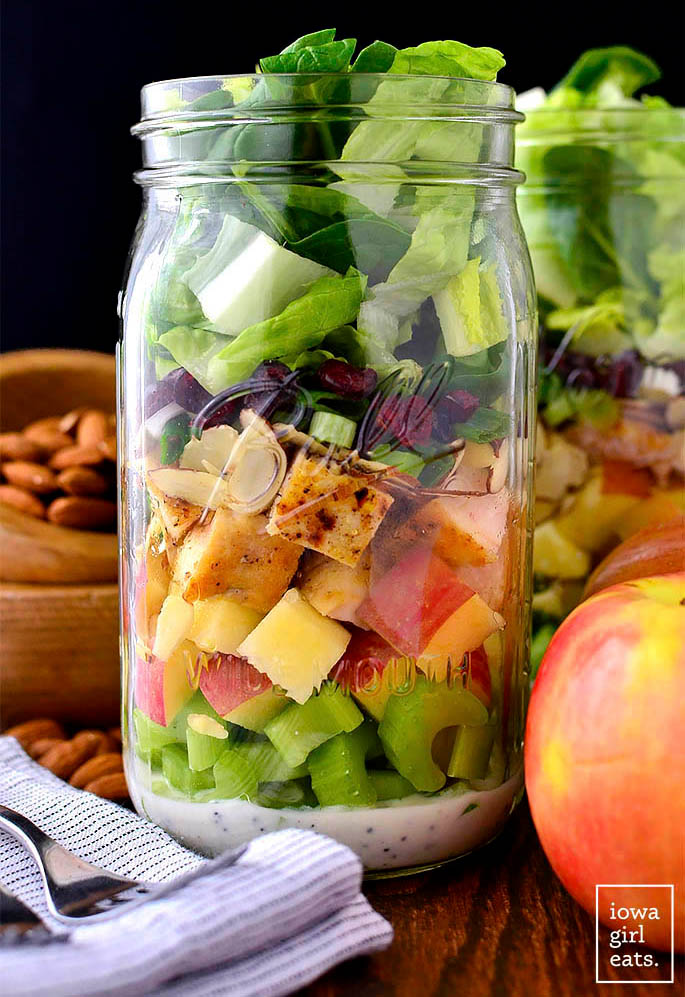
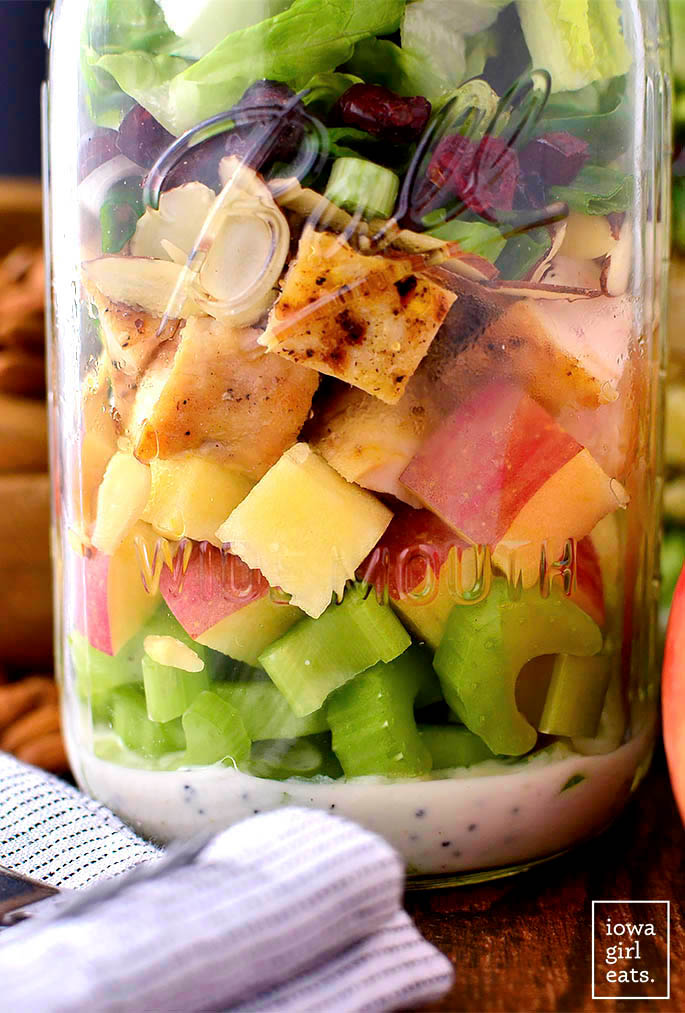
Scoop 2-3 Tablespoons dressing into the bottom of 4, 32oz mason jars with lids then top with chopped celery and apples.
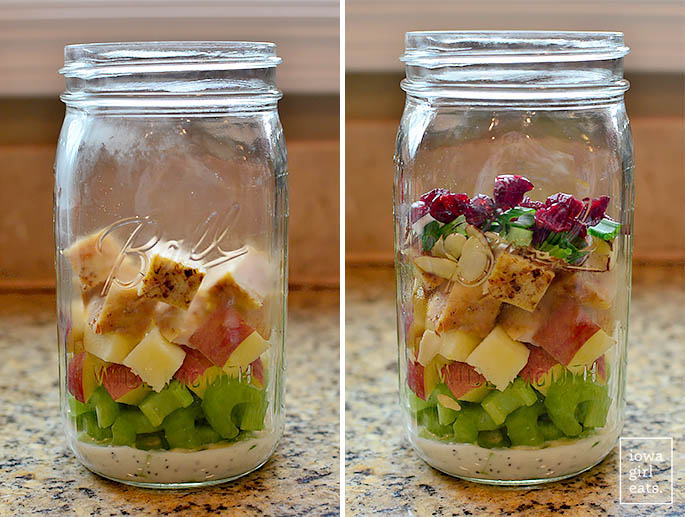
Next layer in chopped chicken that’s been seasoned with garlic salt and pepper then sauted and cooled completely (or use leftover chicken to make these jars even easier!) followed by sliced almonds, dried cranberries, and chopped green onions. I love this combination of sweet, savory, crunchy, and chewy.
Last step is to fill the mason jars to the top with your greens of choice. I use a mixture of chopped romaine and baby spinach, but you can use whatever you like/have on hand. Last step is to screw on the lids then stash in the fridge. When it’s time to eat, just shake, unscrew, and eat!
The most important part of this post is sharing the method for making mason jar salads — start with the dressing followed by crisp vegetables, fruit, protein, toppings, and lettuce. That said, feel free to jazz up your mason jar salads to your liking. Get creative, and enjoy!
Like this recipe? Share it with friends!