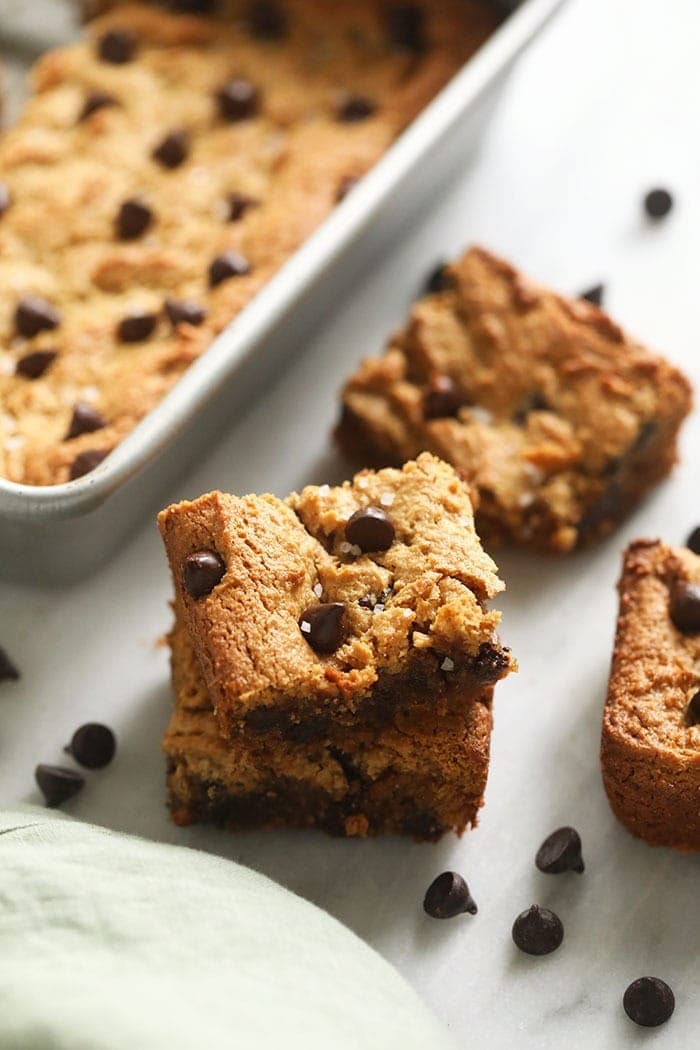
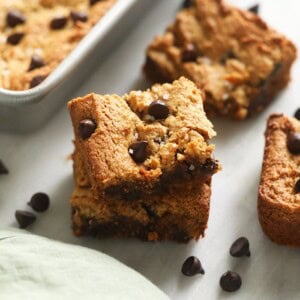
Published 9/28/2019 Enjoy these flourless blondies year-round! They’re gooey, chewy, and everything you’ve ever wanted in a dessert bar recipe.
Why Flourless Blondies?
One thing I love about most flourless healthy desserts that we do on Fit Foodie Finds is that they are nut butter-based with a little bit of coconut flour. This creates an extremely gooey texture and delicious flavor. We also chose to go flourless for this dessert because it minimizes the number of processed ingredients used. The other essential flourless ingredient we use is eggs. These guys not only add protein to this blondie recipe, but they also help make them slightly cakey. All in all, we went flourless so that we could use whole ingredients with the best nutrition possible! Even though these blondies are gluten-free and refined sugar-free, they taste just like those gooey homemade blondies you remember from your childhood.
Other Ingredients Needed
Brown sugar (or coconut sugar): adds sweetness and a beautiful caramel flavor. Baking soda: helps the blondies to rise. Vanilla extract: adds a subtle vanilla flavor. Dark chocolate chips: we added these just for a pop of chocolatey goodness, but you could totally leave them out if you want. Sea salt
Once you’ve got your batter mixed up, it’s time to transfer it into a square pan for baking.
Make These Flourless Blondies Your Own
Choc Swap: We used regular chocolate chips, but feel free to use white chocolate chips or even butterscotch chips instead! Nutty Buddy: Feeling nutty? Toss in some chopped walnuts, pecans, or almonds for added crunch and texture. Peanut Butter Paradise: Add a swirl of peanut butter for a delicious peanut butter blondie surprise! Fruity Fun: Love dried fruit? Cranberries, chopped dried cherries, or chopped apricots add a burst of sweet and tart flavor. Coconut Craze: For a tropical twist, add some unsweetened shredded coconut and sprinkle it on the batter before baking. Spice Up Your Life: Feeling adventurous? Add a pinch of cinnamon, nutmeg, or ginger for a warm and spicy kick. Pretzel Perfection: Crush some pretzels and sprinkle them on the batter before baking for a salty-sweet and crunchy topping.
How to Make Flourless Blondies
Preheat and Prep
Alright, first things first! Crank your oven to 350°F and grab your trusty 8-inch x 8-inch baking dish. Give it a quick spritz with some non-stick cooking spray so those delicious bars come out nice and easy later.
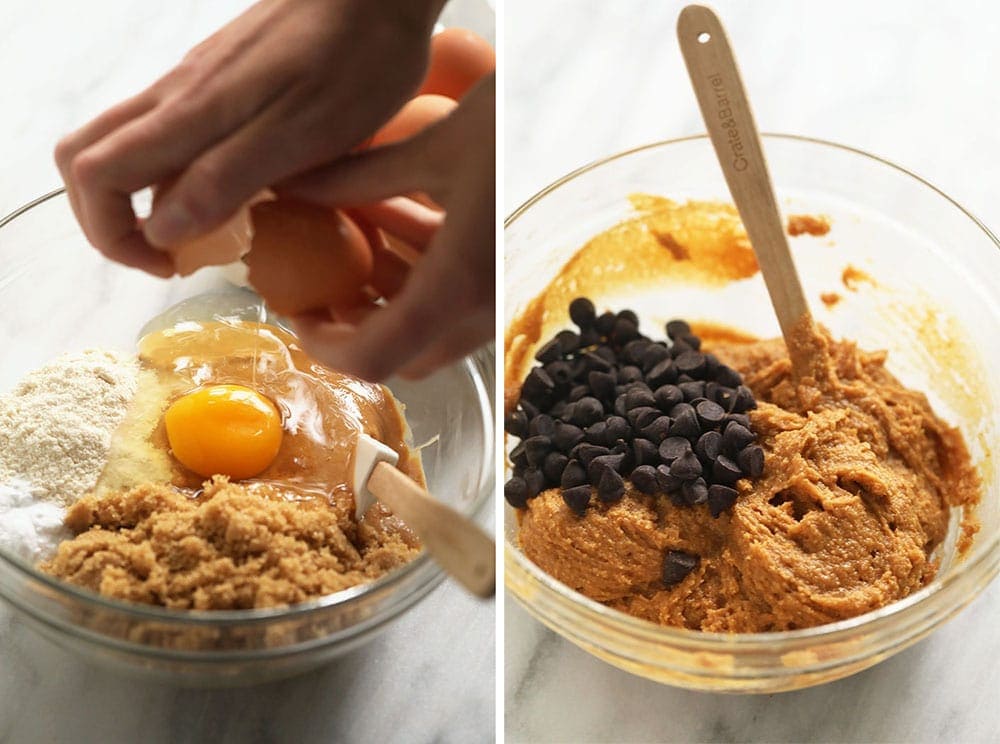
Mix It Up
Now for the fun part! Dump all your ingredients into a big mixing bowl. Grab your wooden spoon and get ready to mix it all together until it’s nice and combined. We’re aiming for a consistency a little looser than your classic chocolate chip cookie dough, so don’t be afraid to give it a good stir.
Batter Up!
Alright, batter time! Scrape all that yummy mix into your baking dish. Use your spatula to spread it out nice and even, making sure it gets into all the corners. You want a flat layer of dough ready to turn into gooey goodness.
Chocolate Chip Heaven (Optional)
If you want to take these bars to the next level, now’s your chance. Sprinkle a handful of chocolate chips on top of the batter. The more, the merrier, as they say!
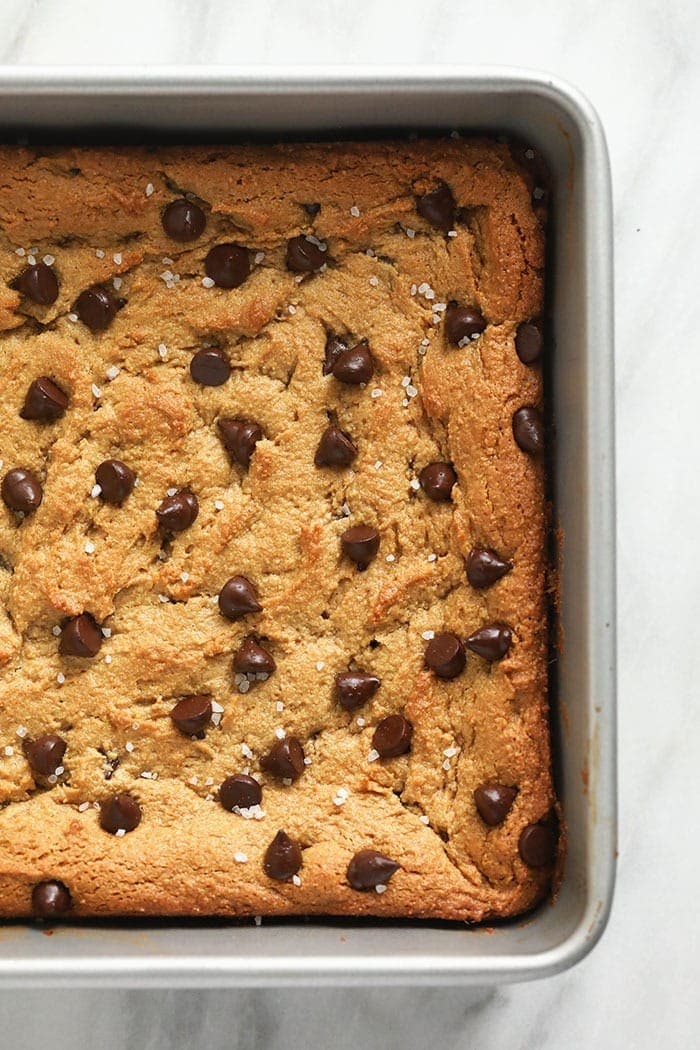
Baking Bliss
Pop that pan into your preheated oven at 350°F and set your timer for 16-19 minutes. We’re looking for those edges to start turning golden brown – that’s how you know they’re perfect.
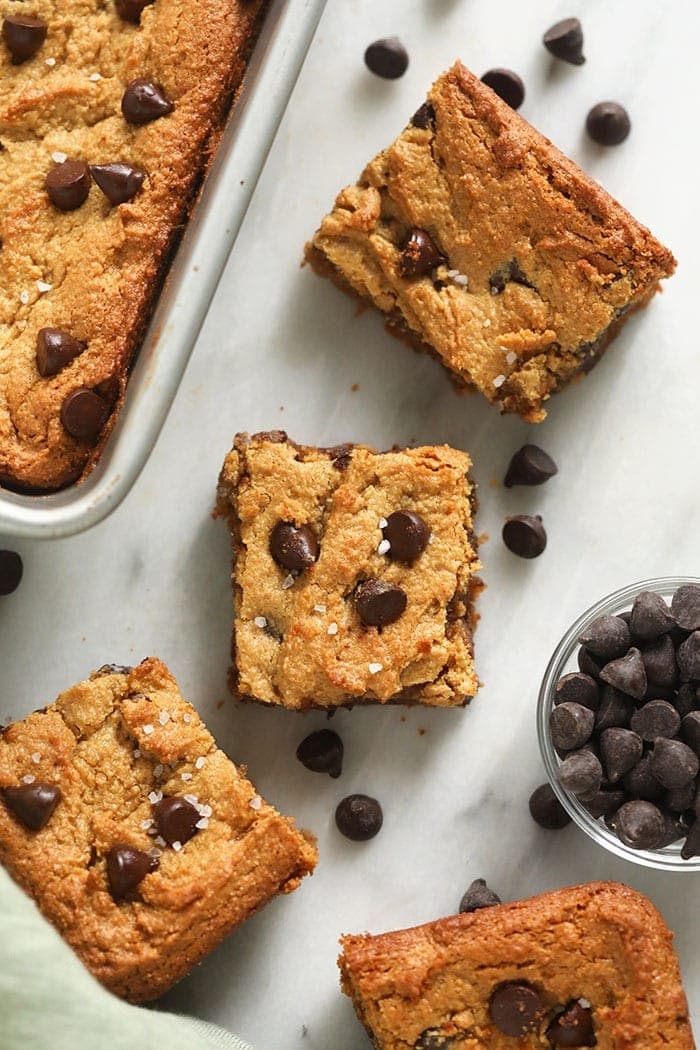
Cool Down and Slice Up
Patience is a virtue, especially when it comes to warm, gooey bars. Take the pan out of the oven and let those bars cool down for at least 20 minutes. Trust us, it’ll be worth the wait! Once they’re cool enough to handle, grab a knife and slice them up into squares.
Salty Sweetness (Optional)
Feeling fancy? Sprinkle a little bit of sea salt over your squares before you dig in. That sweet and salty combo is a match made in heaven! Now, it’s time to devour these delicious bars – you deserve it!
Baking Tips for Making Flourless Blondies
Spray Pan: We recommend ALWAYS spraying your baking pan with cooking spray before transferring the batter. Alternatively, you can use parchment paper. Pan Size vs. Bake Time: This recipe calls for an 8-inch x 8-inch pan. If you use a pan with different dimensions, you’ll have to adjust your baking time. For example, if you use a 9-inch x 9-inch pan, you need to bake your blondies for slightly less time. Let Cool: Our #1 rule for baked goods is to always let them cool completely before slicing! I can’t tell you how many times I’ve made this mistake, but if you slice too early, they will get crumbly and not be as pretty!
How do you know when blondies are done?
You’ll know when your blondie bars are done when they start to turn golden brown on the edges. Toothpick test: You can also do a toothpick test in the center of your blondies. Insert the toothpick into the blondies and immediately remove it. If the batter is not wet or sticking, your blondies are done!
How do I store blondies?
Store blondies in an airtight container in the refrigerator for best results. They should last up to 5 days. You can also store them in a cool, dark place on your countertop.
Can I freeze blondies?
Blondies are a great dessert to freeze! Place your sliced blondies on a baking sheet and then place them in the freezer. Freeze for 30 minutes before transferring into a freezer-safe, gallon-size bag. Remove as much air as possible and seal. Freeze for up to 3 months.
Healthy Dessert Bars
Oatmeal Peanut Butter Cookie Bars Healthy Carmelita Bars Strawberry Oatmeal Bars Banana Oatmeal Bars