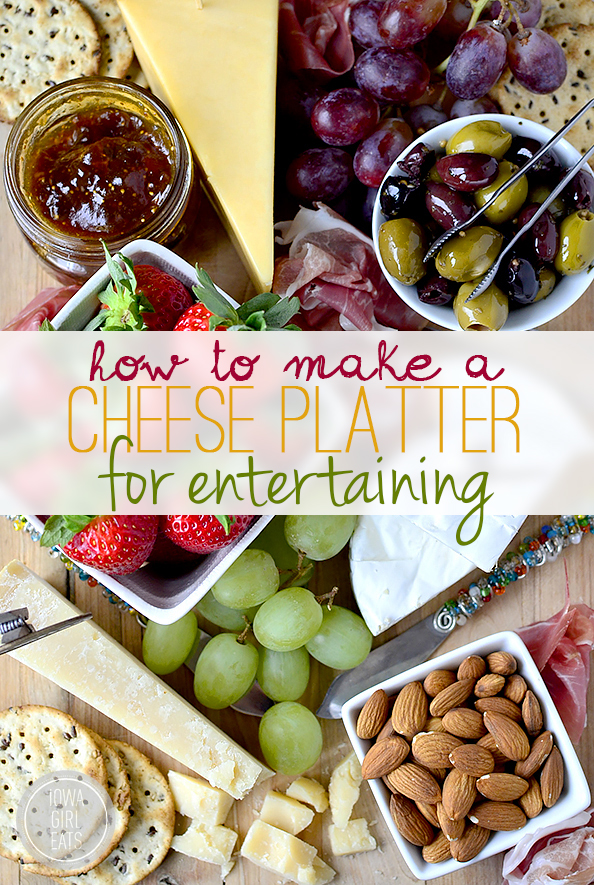
It’s the holiday season and if you’re tasked with the job of making or taking an appetizer for a holiday party or get-together, I can’t think of anything more fun nor crowd pleasing then a Cheese Platter for Entertaining!
Charcuterie Board for Entertaining
Different types of cheese accented with fruits, meats, and other goodies are perfect for nibbling on without interrupting conversation, sparking conversation, and hello, they all pair well with wine. I’m just saying. That said, these are the same reasons why cheese platters work great for parties! Mix and mingle with guests while snagging a snack as you pass by the charcuterie board. Talk about which bites you like best, and be the hostess with the mostess while you refill everyone’s wine glasses in between tastes. Best of all, cheese platters are a cinch to make. Forget the cook books, forget the oven – you can purchase all the supplies for a cheese platter at the regular grocery store then assemble them using my no-fail, 3x3x3 cheese platter formula in about 10 minutes. Moreover, cheese platters are FUN to assemble. I’m not very creative when it comes to design, but playing with food – especially when it’s simple, fresh, and colorful – is a blast! I’m sharing eight of my best tips and tricks for assembling your own cheese platter for a holiday party, girlfriend get together, office potluck – whatever. Follow these tips for how to make a cheese platter for entertaining, and reap the cheesy rewards!
1. How much and what to buy
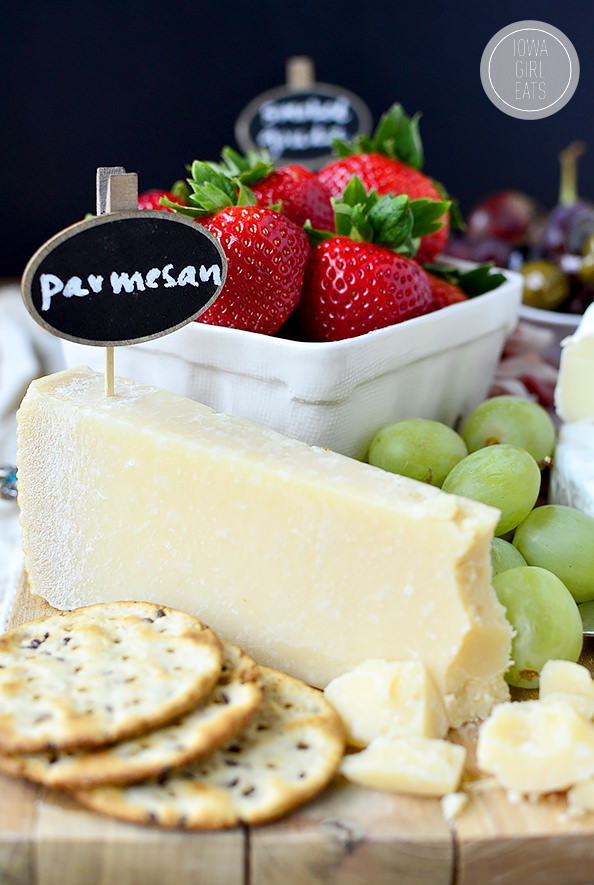
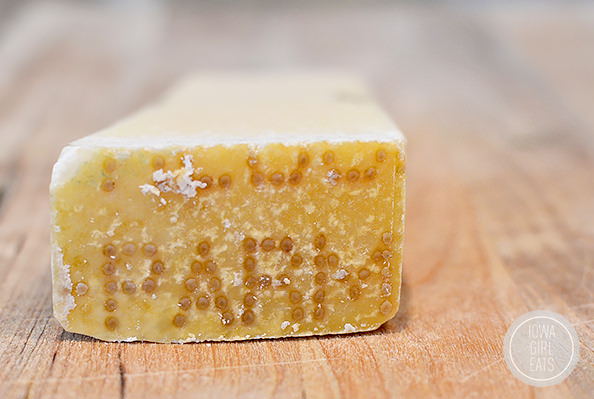
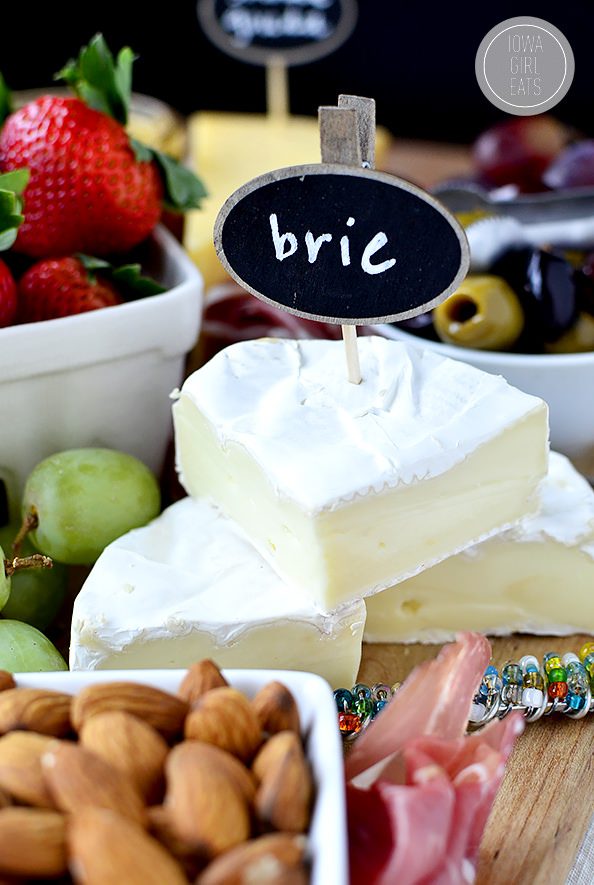
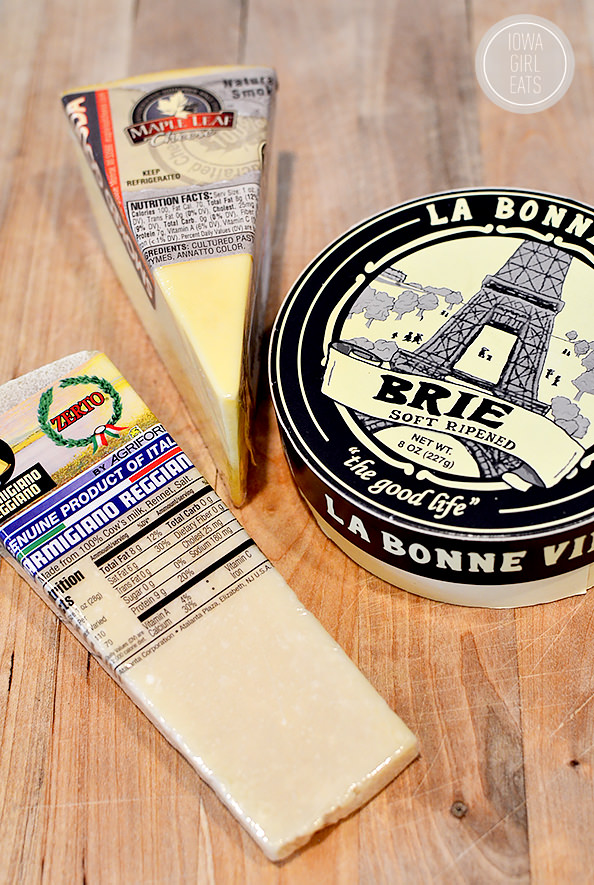
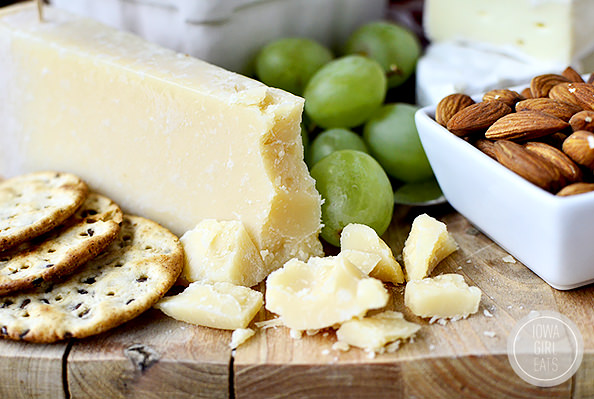
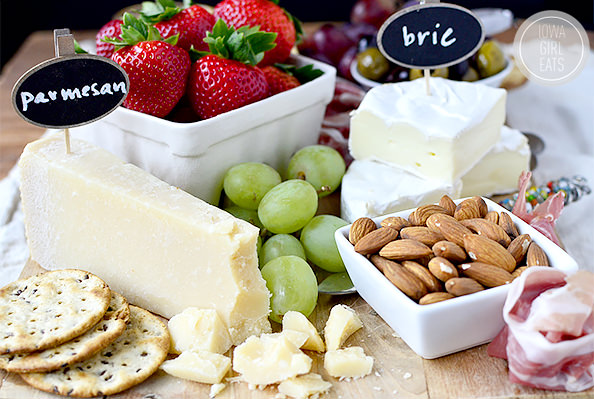
To figure out how much cheese you’ll need to buy, plan on 3-4oz of cheese per person. No matter how many people you’ll be serving, include at least three different types of cheese on the platter. I like to include a soft cheese, like brie or camembert, a semi-hard cheese like an aged cheddar, fontina, or smoked gouda, and a hard cheese like parmigiano reggiano (make sure you’re getting real parmigiano reggiano – it should have the name stamped on the rind.)
Blue cheese is popular to include on a cheese platter but I find people either love it or hate it, and unless it’s a big party, or you know your guests love blue cheese, I personally wouldn’t spend the extra money.
Honestly, don’t get hung up on getting one cheese from each category – you simply want a variety of textures and flavors of cheese for your guests to choose from. Providing a few lighter options like wedges of The Laughing Cow Cheese to savor is always appreciated, too. Get a couple you know you like, then maybe one you want to try. It’ll be fabulous!
2. Follow the formula
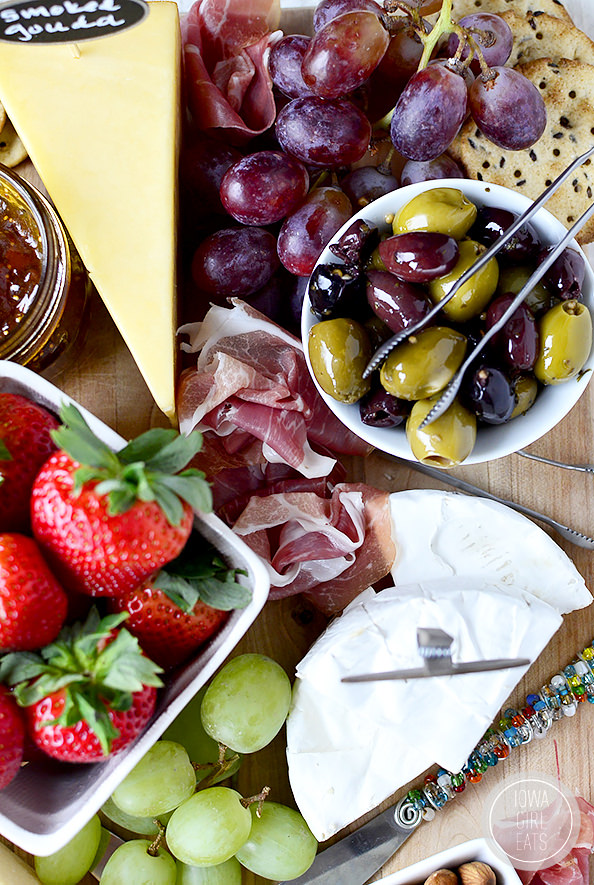
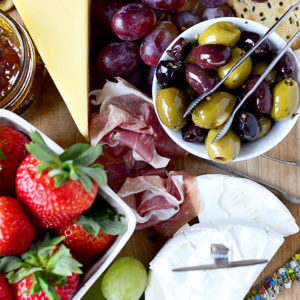
For a well-rounded cheese platter, follow my 3x3x3 cheese platter formula: include at least three types of cheese on the platter, three savory extras, and three sweet extras – plus crackers, of course! Here are some of my favorites:
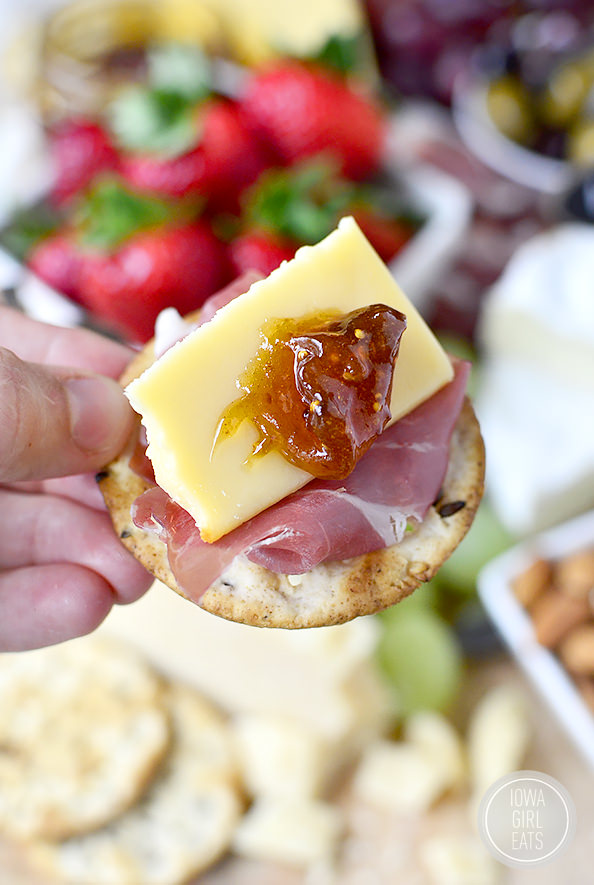
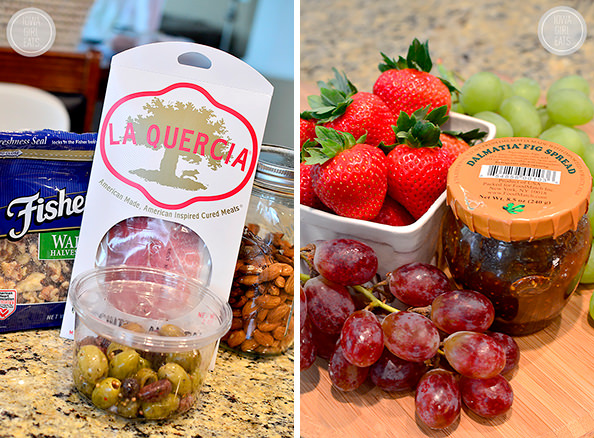
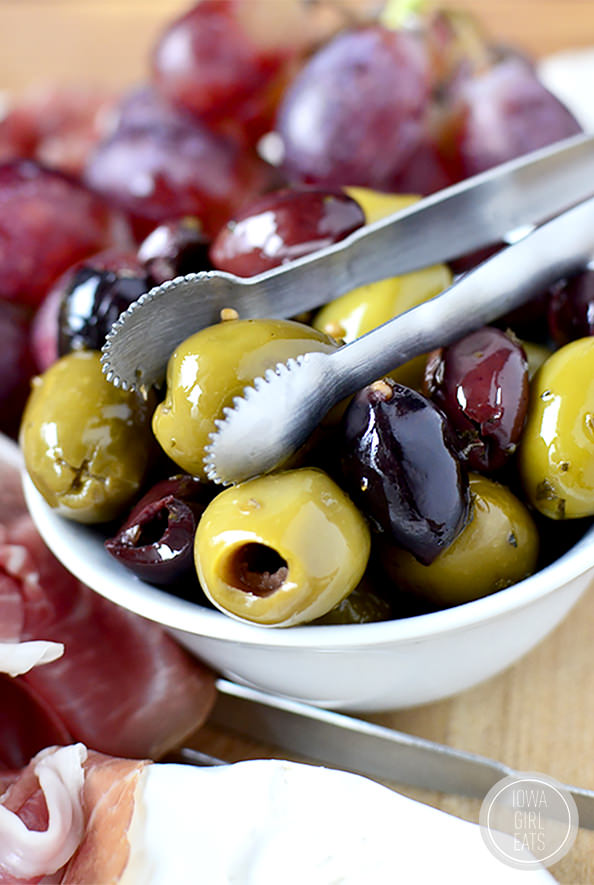
Savory extras: marinated olives, raw nuts, smoked nuts, prosciutto, salami, bread sticks, artichoke hearts. Sweet extras: fruit (any kind but especially grapes, berries, apricots, and fresh figs,) dried fruit, jam (my favorite is fig jam,) honey.
3. Ask for help
New to the cheese world, or know what flavors you like but aren’t sure which cheese fits the bill? ASK FOR HELP. The people at the cheese counter at my grocery store love helping me pick out new cheeses. They’re the experts and can describe the flavor and texture profiles better than anyone. Furthermore, they can cut wedges of cheese from the big wheels in whatever size you want so you don’t buy too much for the crowd you’ll be serving. Regular grocery stores have come a long way in their cheese offerings, and nowadays rival any specialty grocery store (at least around here.) A specialty cheese shop is a real treat to visit and shop from, but if your budget is important, check out your regular grocery store first.
4. Let the cheese rest
Let the cheeses rest on the counter for at least 30 minutes before serving as it tastes totally different at room temperature vs cold. Also think about letting guests slice their own semi-hard cheese vs pre-slicing it, as cheese slices can dry out around the edges if left to sit for too long. Hard cheeses like parmesan are ok to crumble a bit to show guests how to enjoy it.
5. Raid your kitchen
Keep costs down by using what you’ve already got at home on your cheese platter. Raid your fridge and pantry for olives, crackers, dried fruit, and nuts.
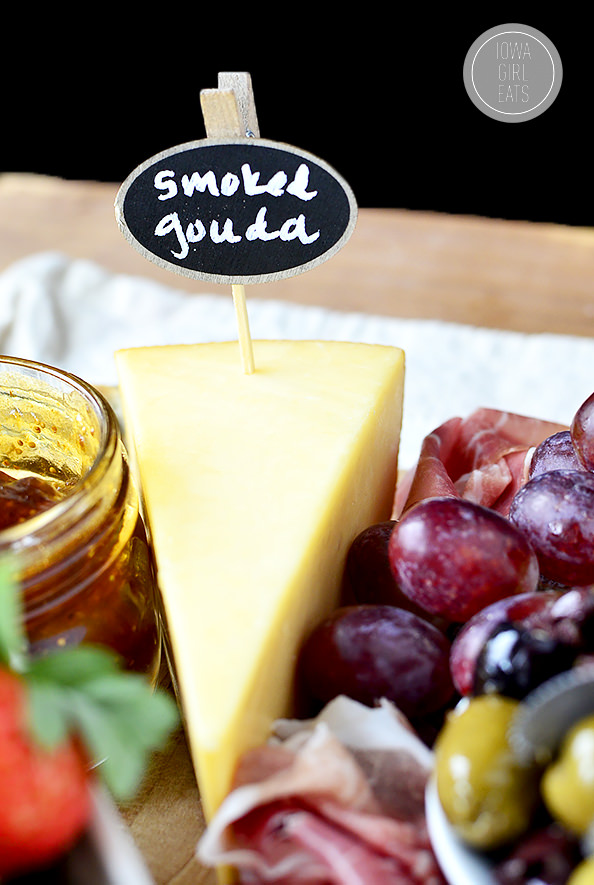
6. Label everything
Make sure each cheese is labeled to indicate what kind it is, and include a separate knife for each cheese. Blue cheese swirled with brie? No thanks. I found these cute chalkboard labels in the Target $1 aisle!
7. Simple is best
Don’t stress about having the perfect-looking cheese platter. I think the most inviting ones have casually-arranged ingredients on a clean, wooden or marble board. You don’t have to put all the fruit in one corner and all the meats in another corner either. Separate items to fill in the cracks, and to make sure everyone can get a little bit of everything no matter where they’re standing around the board.
8. Have fun!
Call me crazy but thinking about making and serving a cheese platter literally puts a smile on my face. I just love that there’s something for everyone and it’s so fun to try new and different cheese. Furthermore, for me, it’s less stressful to assemble a fun and colorful cheese platter than cook or bake something for a holiday party when I don’t know about guests’ dietary restrictions, having to time cooking with their arrival, etc. And, while cheese platters are a hit at holiday parties, they’re also great for dinner every once in awhile. Either way, you can’t lose!
Like this recipe? Share it with friends!